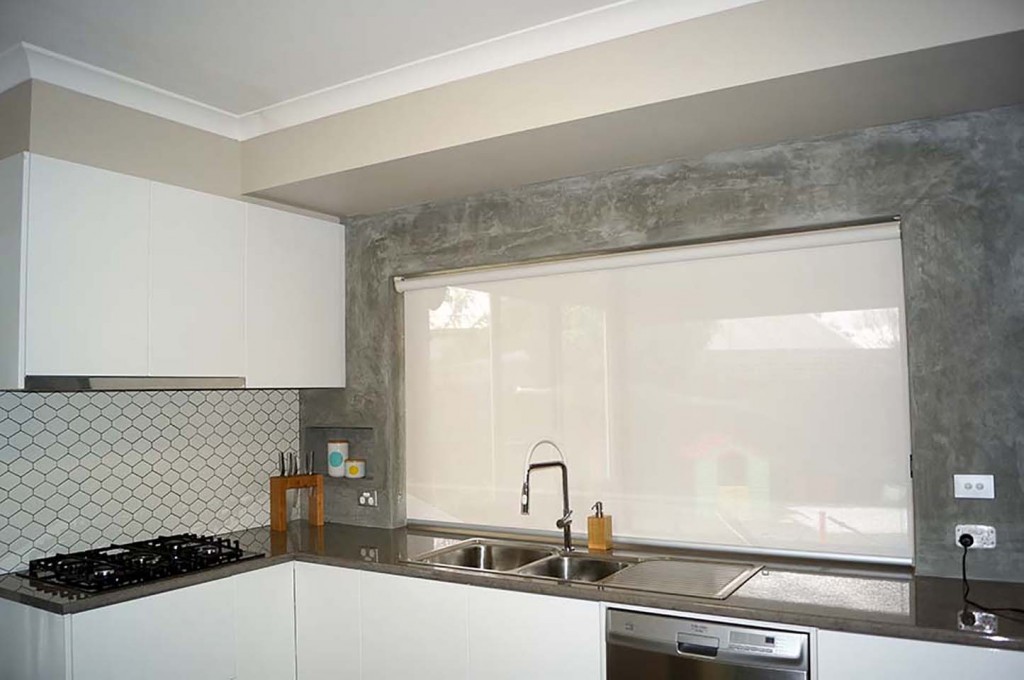
After we renovated our kitchen last year I was having trouble working out what finish I wanted on the walls next the sink, I knew I wanted a feature tile for my splashback but I wasn’t excited about putting tiles around the window reveal and I wanted something different. Mario suggested using polished render. We had a client in Horsham that we rendered a couple of piers in this finish for and Mario was impressed with the results.
We also were working on the area next to the kitchen were my dad made us a beautiful timber shelf, the wall used to have chalkboard paint on it for the kids but I now used it as a little office nook. We decided to create a polished render feature wall here also to tie the two spaces together. Mario gave me the choice of using grey or white for these walls and I chose grey (although some days I wished in the kitchen I had chosen white). It took only two coats, the first coat was to ensure the render adhered to the plasterboard, the final coat is a sand and cement mix made to look like concrete. The smooth finish is achieved using a trowel.
Several months later we finished our outdoor kitchen at our house in Horsham, and again another beautiful timber shelf! Here Mario chose to go white, so instead of tiling a splashback we rendered right up to the bench top. As you can see in the photos below that there is quite a difference between the colours. The grey shows up the strokes and is very textural, even though when you touch it it’s incredibly smooth. The white is more refined. I’m not sure I would recommend it in a heavy traffic area in the kitchen, although Mario did add a waterproofer to the top coat.
Polished render is best applied to blueboard, villaboard and brickwork.
-
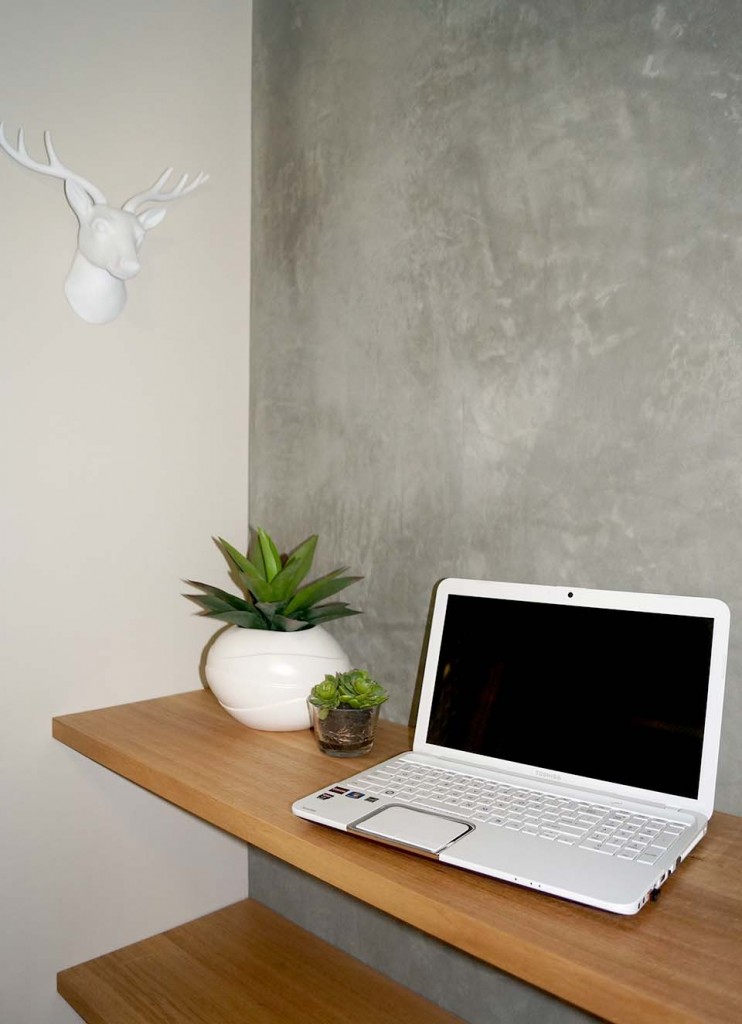
- Polished render wall in grey, Horsham

-
- Polished render wall in grey, Horsham

-

- Polished render wall in white, Horsham
